Writing 5, Crit 1

I’ve been having the problem at every critique that my theme of “home” hasn’t been apparent in my pieces. I’ve loved going through the process of printmaking but I think the problem is that I’ve been thinking too much about the process and not enough about the content. I’ve been trying to think of better ways to convey my message and I think to convey comfort, I need to choose a method I am actually comfortable with to take my focus off the process and put it more on my piece. I’ve done digital work for as long as I can remember so for this critique I’m trying to utilize some of the pieces I’ve already made as a base and continue transforming them digitally to try to accomplish my goal.

As we’ve recently worked on turning linocuts into GIFs in class, I’m drawn to the idea of turning my previous pieces into living, “breathing” objects by layering and collaging my editions and other material together.

Writing 5, Crit 1

Crit 1, Writing 4

For this week’s critique I decided to take a break from etching and to give linocut a try. I am still sticking with my theme of comfort, but last critique Portico mentioned the idea of having a central image of a place I find comforting and picking out specific items from the scene to do pieces over so that my theme is more cohesive. I chose to redo the image of my boyfriend’s kitchen, this time in linocut and focusing on the the scene as a whole and several objects from there that I find comforting.


Crit 1, Writing 4

Writing 2 (Crit 1)

So far, my idea has evolved a little from my first post. Instead of doing traditional still lives of places that are important to me, I’ve decided to take advantage of the  mark-making and textures in etching to do close up, textural work of my favorite places. I feel that this will allow for a little more creative interpretation than simply drawing just what I see, and add an abstract element to my images.

I’ve used a majority of the time we’ve had so far to gather materials and research various processes of etching, and trying to find alternative ways to do it at home. It’s been very interesting to see how people have overcome their lack of proper materials to create their art the way they want to create it.

Once I got everything together with a plan of action, it went pretty smoothly. I degreased my plate with soy sauce and baking soda, applied a hard ground with a foil-covered skillet hot plate, and started sketching while the ground cured.


Baking soda and soy sauce make a surprisingly effective degreaser.
The hard ground I purchased is rolled on with a brayer.


Setting the hard ground

I took reference photos with my phone from various angles of one of the places I had decided to use for this first image, my bed. I tried to get several different images to try to find one that I found to be aesthetically pleasing and compositional. I decided on one view and started sketching on the plate using a white oil pastel, using the photo below as a reference.

I thought all the folds and textures of the blanket would make a nice image.


Once I had my image scratched out of the hard ground, I dropped it in a ferric chloride bath for 20 minutes to etch my lines. I engineered a press out of 2 pieces of hardboard with my damp paper, inked plate and a piece of felt sandwiched between and taped together, and I ran it over with my car a couple times to get the required pressure.


I’m fairly happy with how this first layer turned out and I’m excited to try an aquatint technique next to get some darker values and more texture in my piece.

Writing 2 (Crit 1)

Writing 1 (Crit 1)

I’m Brittney Walton. My work is usually about things that are important to me depicted in ways that I find visually appealing. I think my work has a strong graphic design influence since that has been my main course of study until this point. I like bold, graphic shapes, making work with a lot of texture but simple shapes. I am fascinated by the ranges of contrast that can be achieved with just black and white.

Here’s a couple examples of my previous work:

IMG_0726
Brittney Walton, Anna, digital, 2015


DSC_0308
Brittney Walton, Jugular, Etching, 2014

For this class I plan to explore etching and various techniques associated with it. I tried etching in my printmaking class and I fell in love with the process. I intend to create a series of still lives of places that have been important to me.

Many artists have inspired me. Richey Beckett, a Welsh artist whose work is done mostly in stippling with tech pens and is then translated into screenprints with color, creating whimsical, surprisingly detailed works. I love his use of contour and texture and I strive to someday reach his level of excellence in my own work.

RBeckett_Conviction_Pale_Pink
Richey Beckett, Conviction, Screen Print


Writing 1 (Crit 1)

Shipping Your Work

If you are having a show in a gallery or museum is is often necessary to ship your work to them through the mail. It is important that you package the work so that it makes it there in one piece and in a way that it is easy for gallery staff to repackage it to return it.

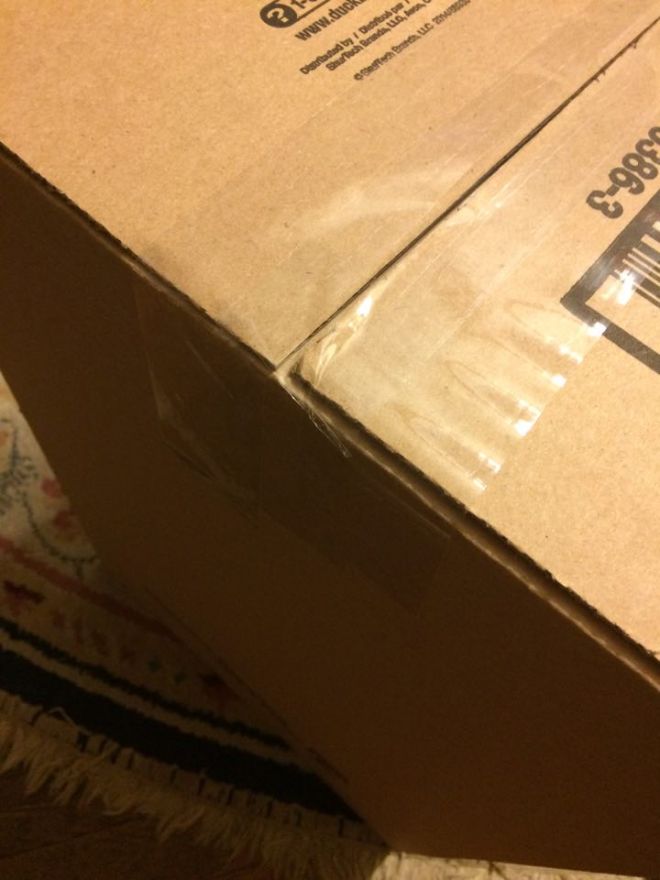
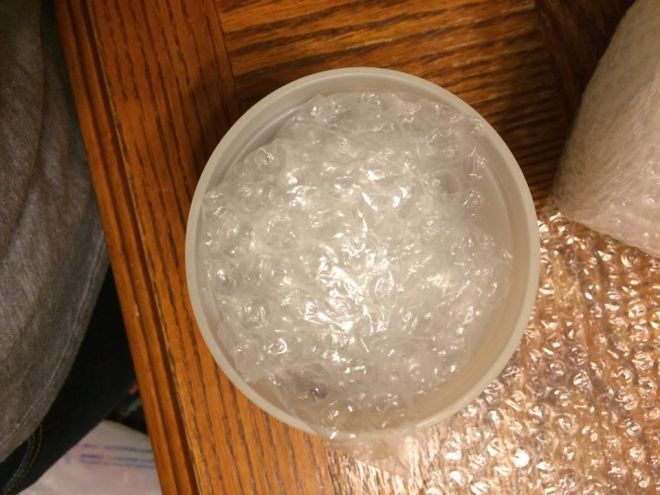
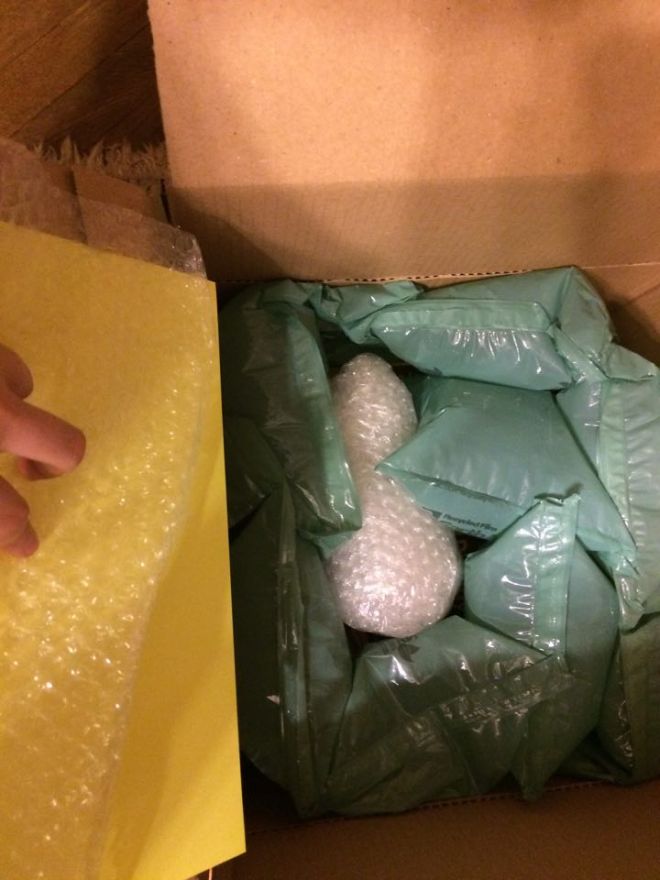
First you need a box that is big enough to fit the piece or pieces you are going to ship. For this demonstration I chose a 14″ x 14″ x 14″ box. You need to assemble the box and use plenty of tape across the bottom to ensure that it will hold together reliably. I taped across the seam 3 times, once on either side of that and taped the edges to seal the bottom completely. We also need acceptable packing materials such as bubble wrap and foam, held in place with packing tape as it is more reliable than painters tape. Do not use packing peanuts as they have a tendency to shift around in the box too much to be reliable and they are also a pain to gallery staff.

12380540_10153748035028618_1852093050_n

Next you need to package the work. There are different methods for framed 2d pieces and 3d pieces, but both boil down to making sure that there is plenty of padding around the piece so that it is not bouncing around in the box and all the weak points are protected.

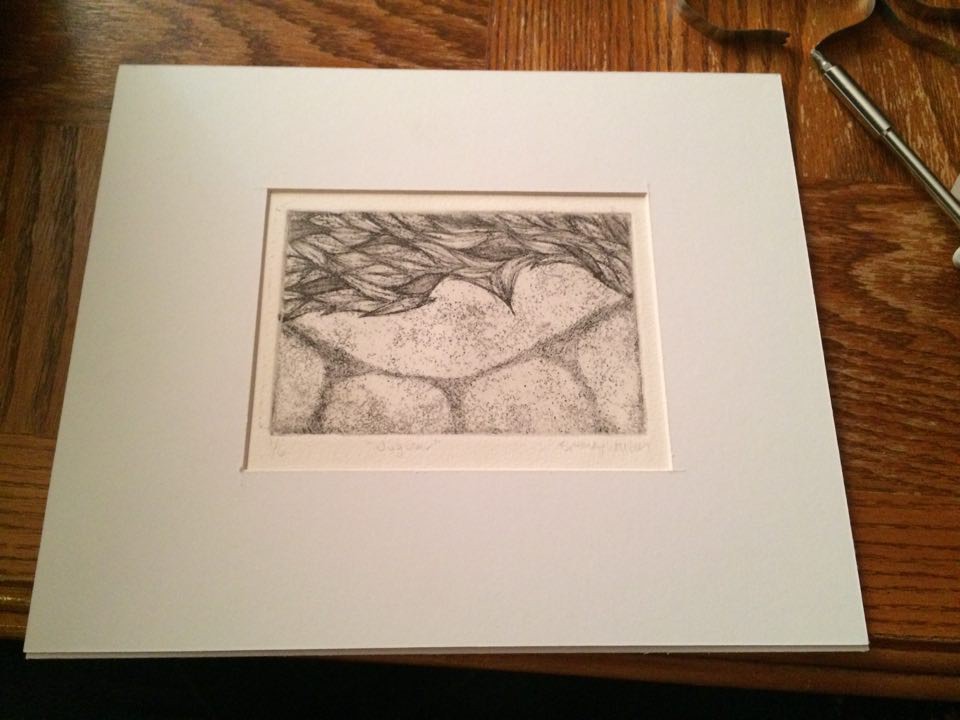
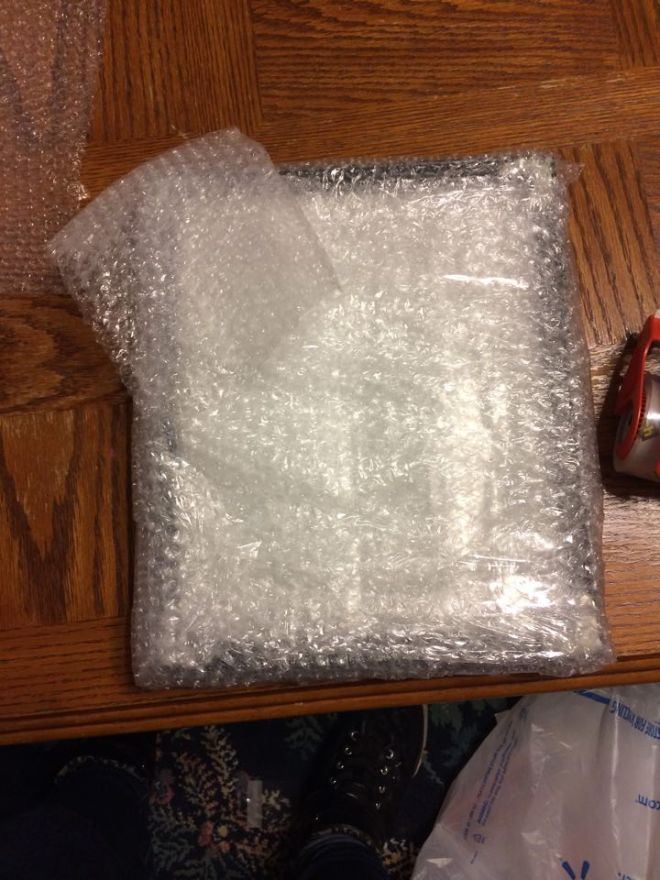
For a framed piece the most important thing to remember is that the corners are the part that is most likely to get dinged. We want to protect the whole work with special attention to the corners. Wrap the bubble wrap around the piece two or three times in each direction, taping it on, but ensuring that no tape comes into contact with your piece. Then take small sheets of bubble wrap, fold them several times and tape them onto the corners as shown.

12366513_10153748035068618_364440667_n

You can gently tap the piece on the table and hear if there is enough padding. If it bounces slightly and you hear no thud of the actual frame hitting the table, your piece should be well protected.

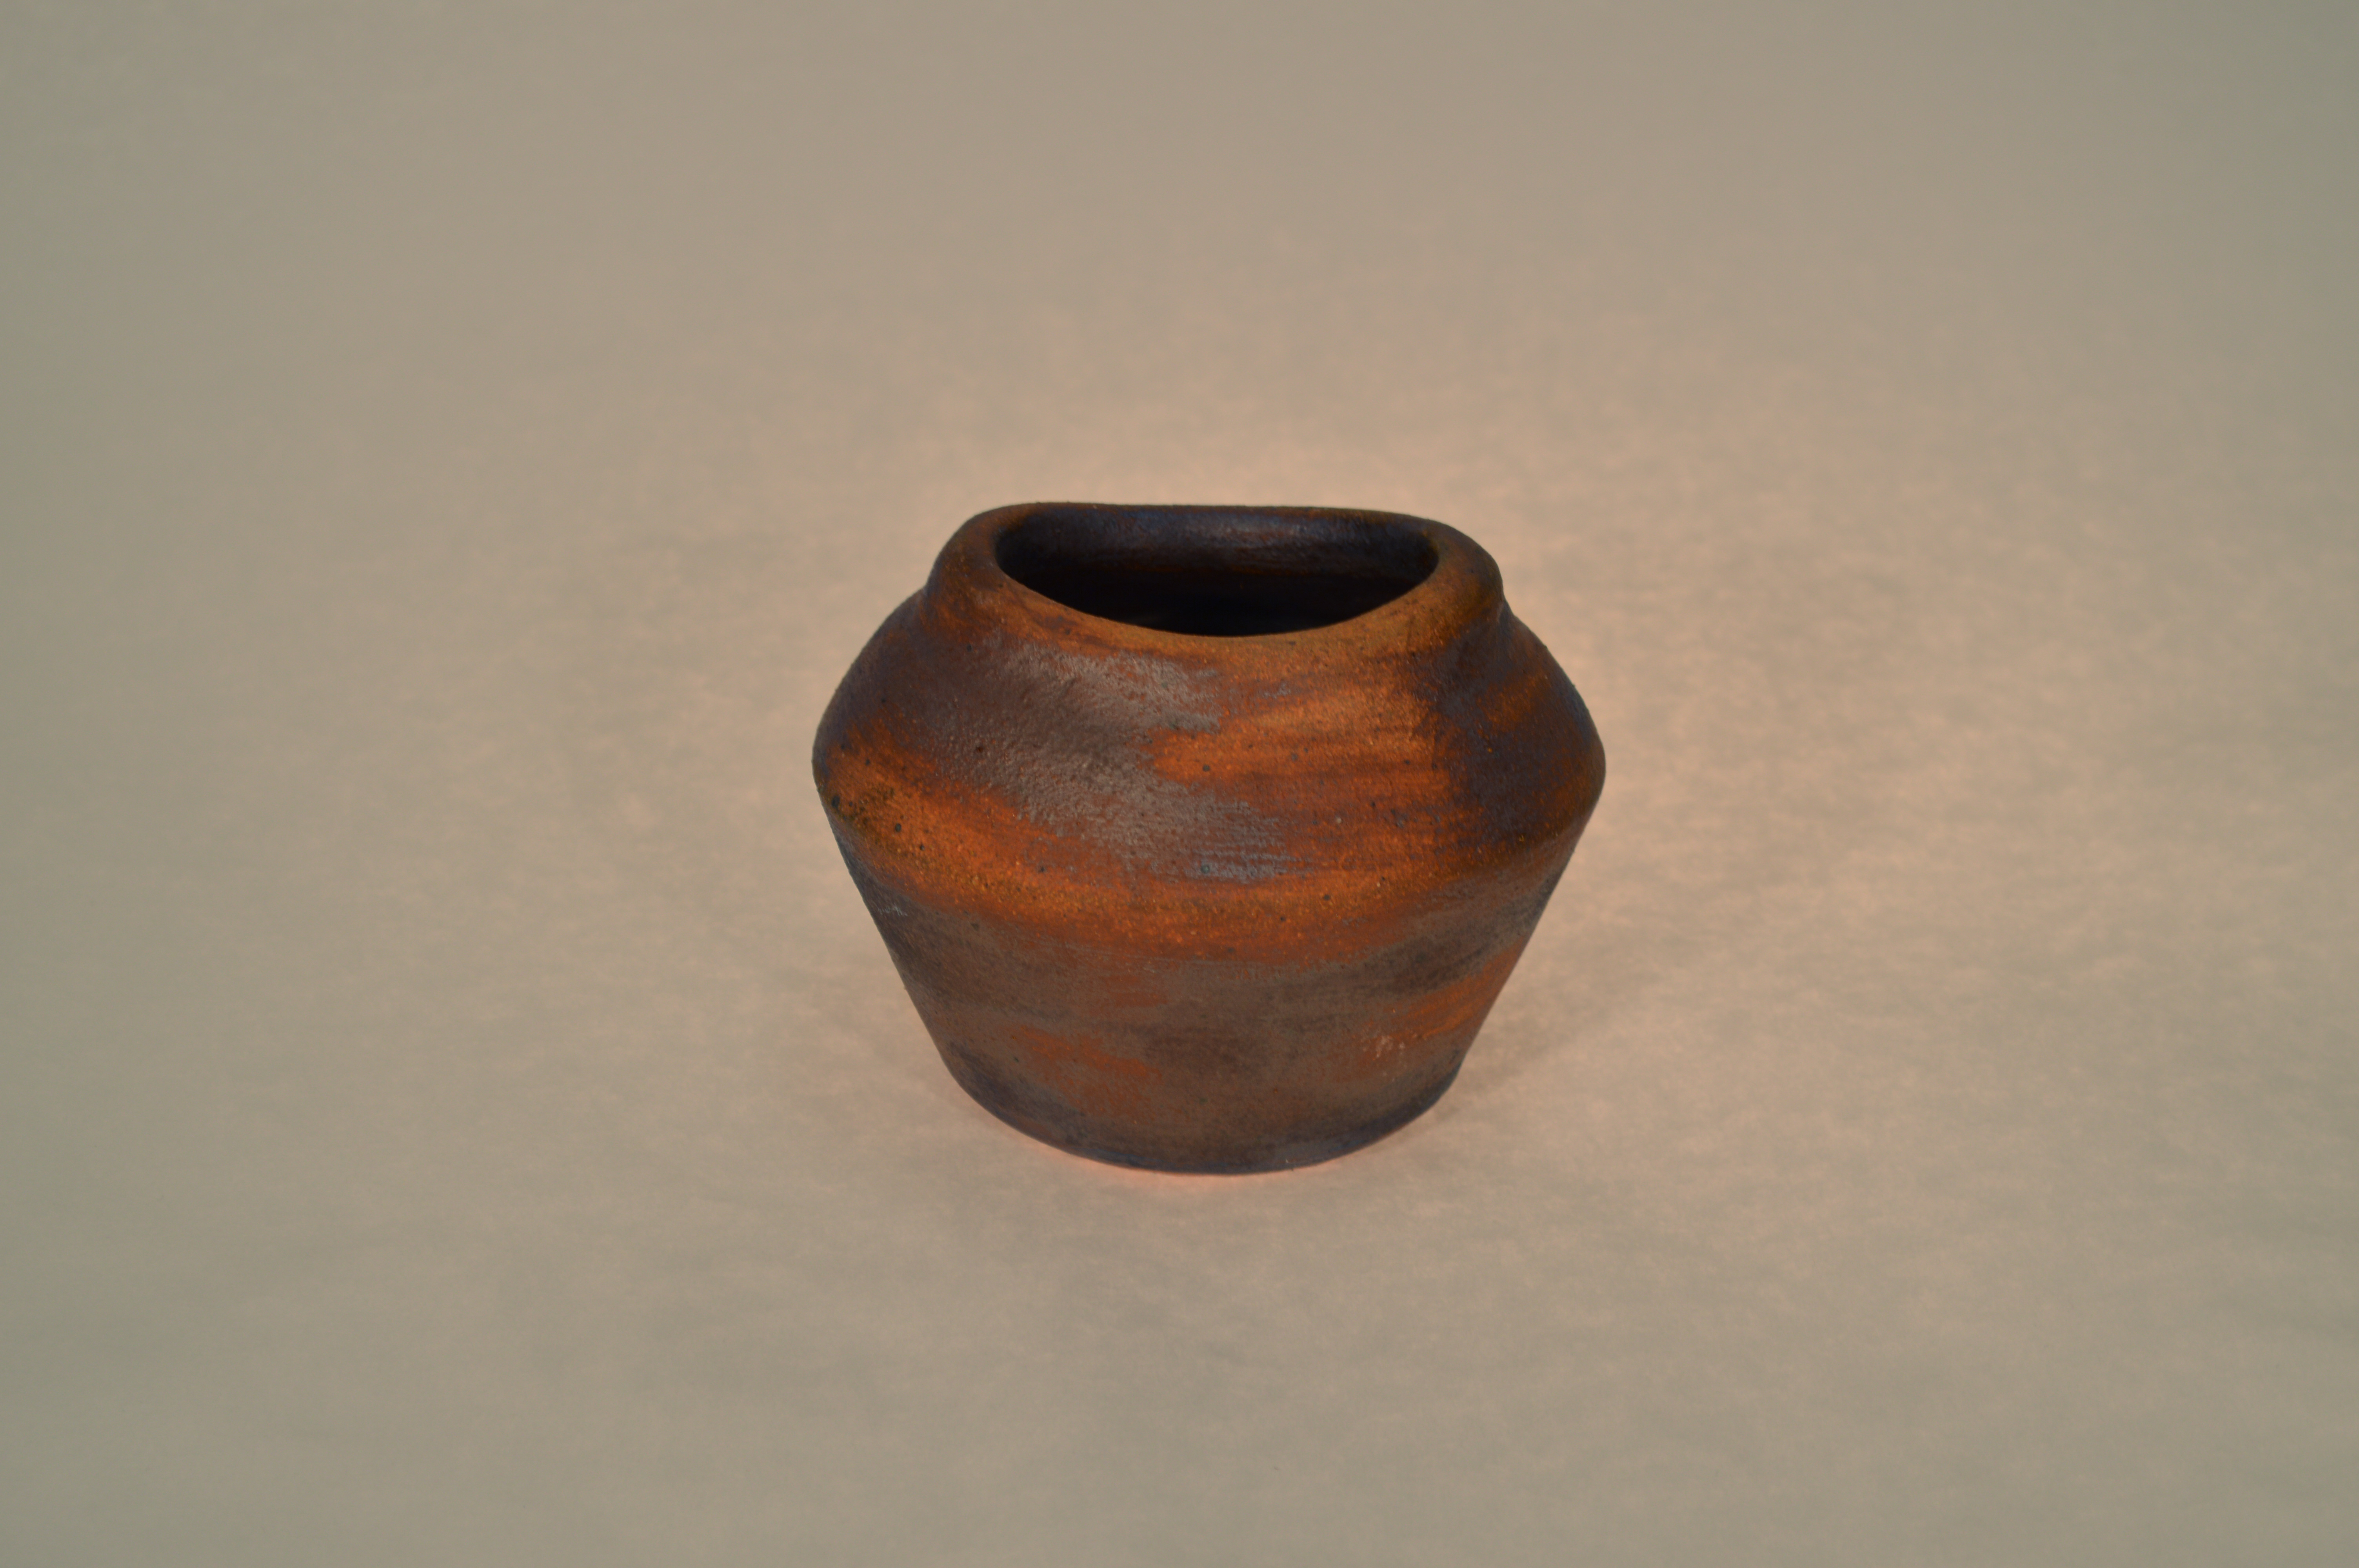
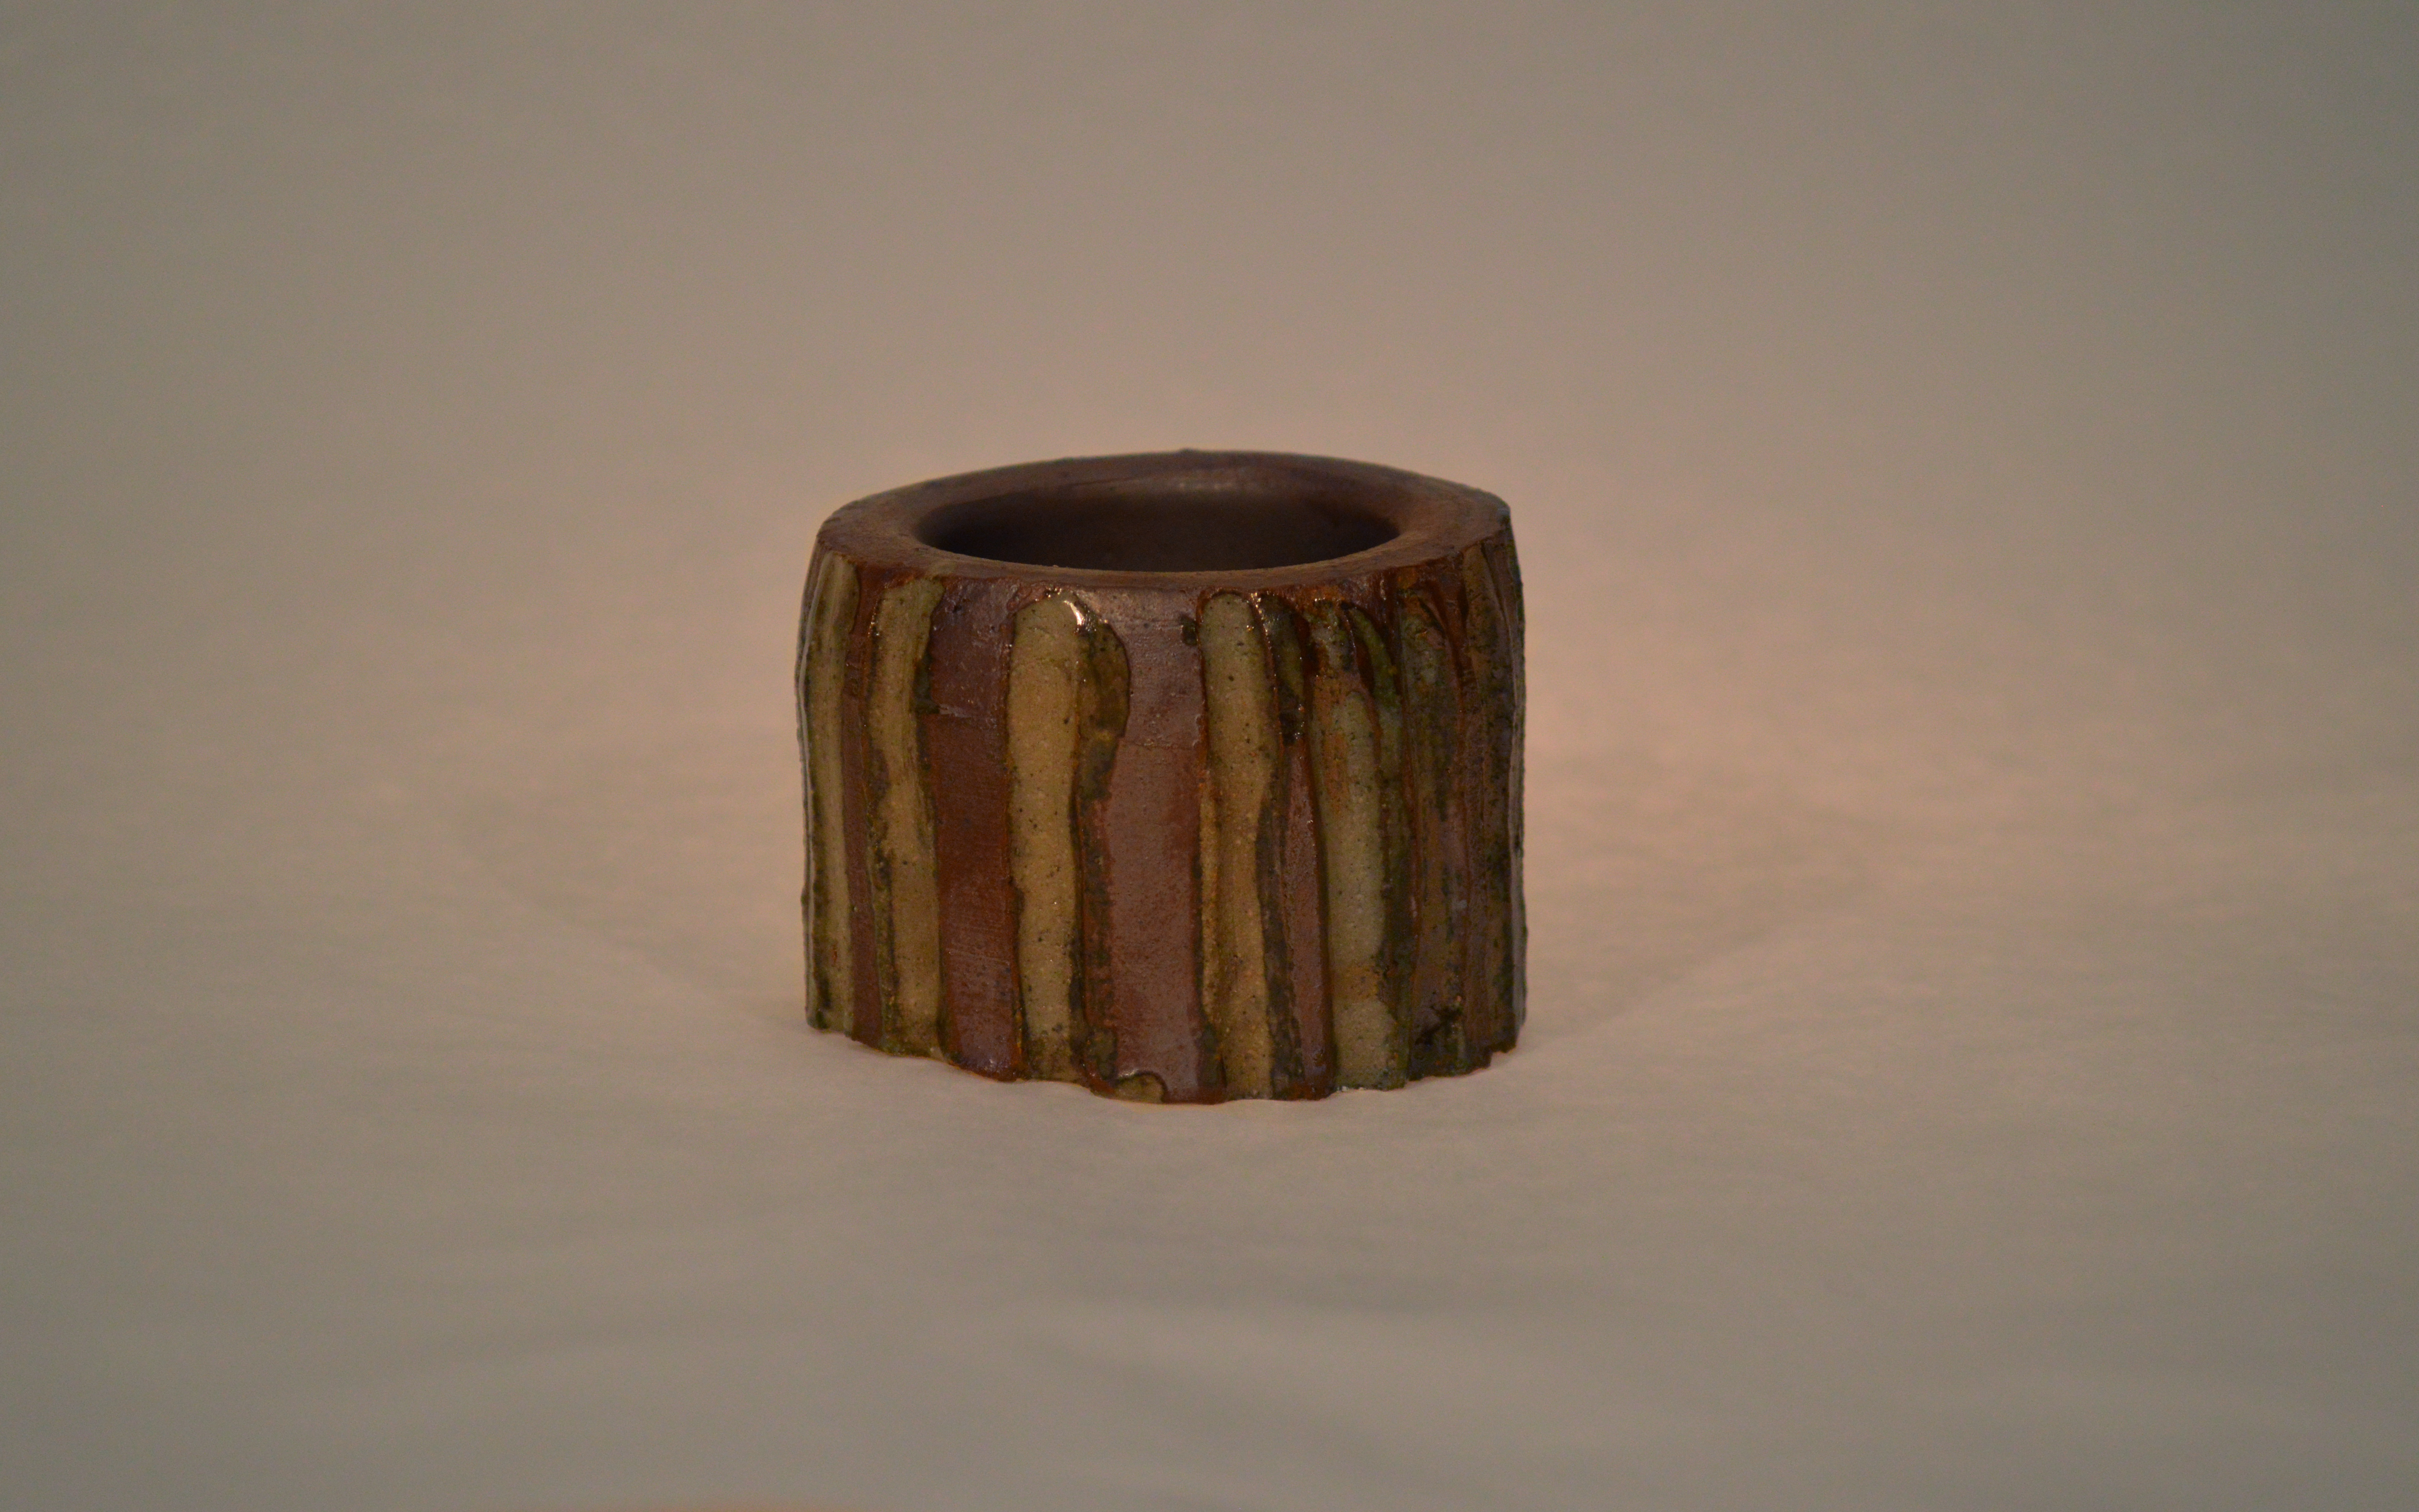
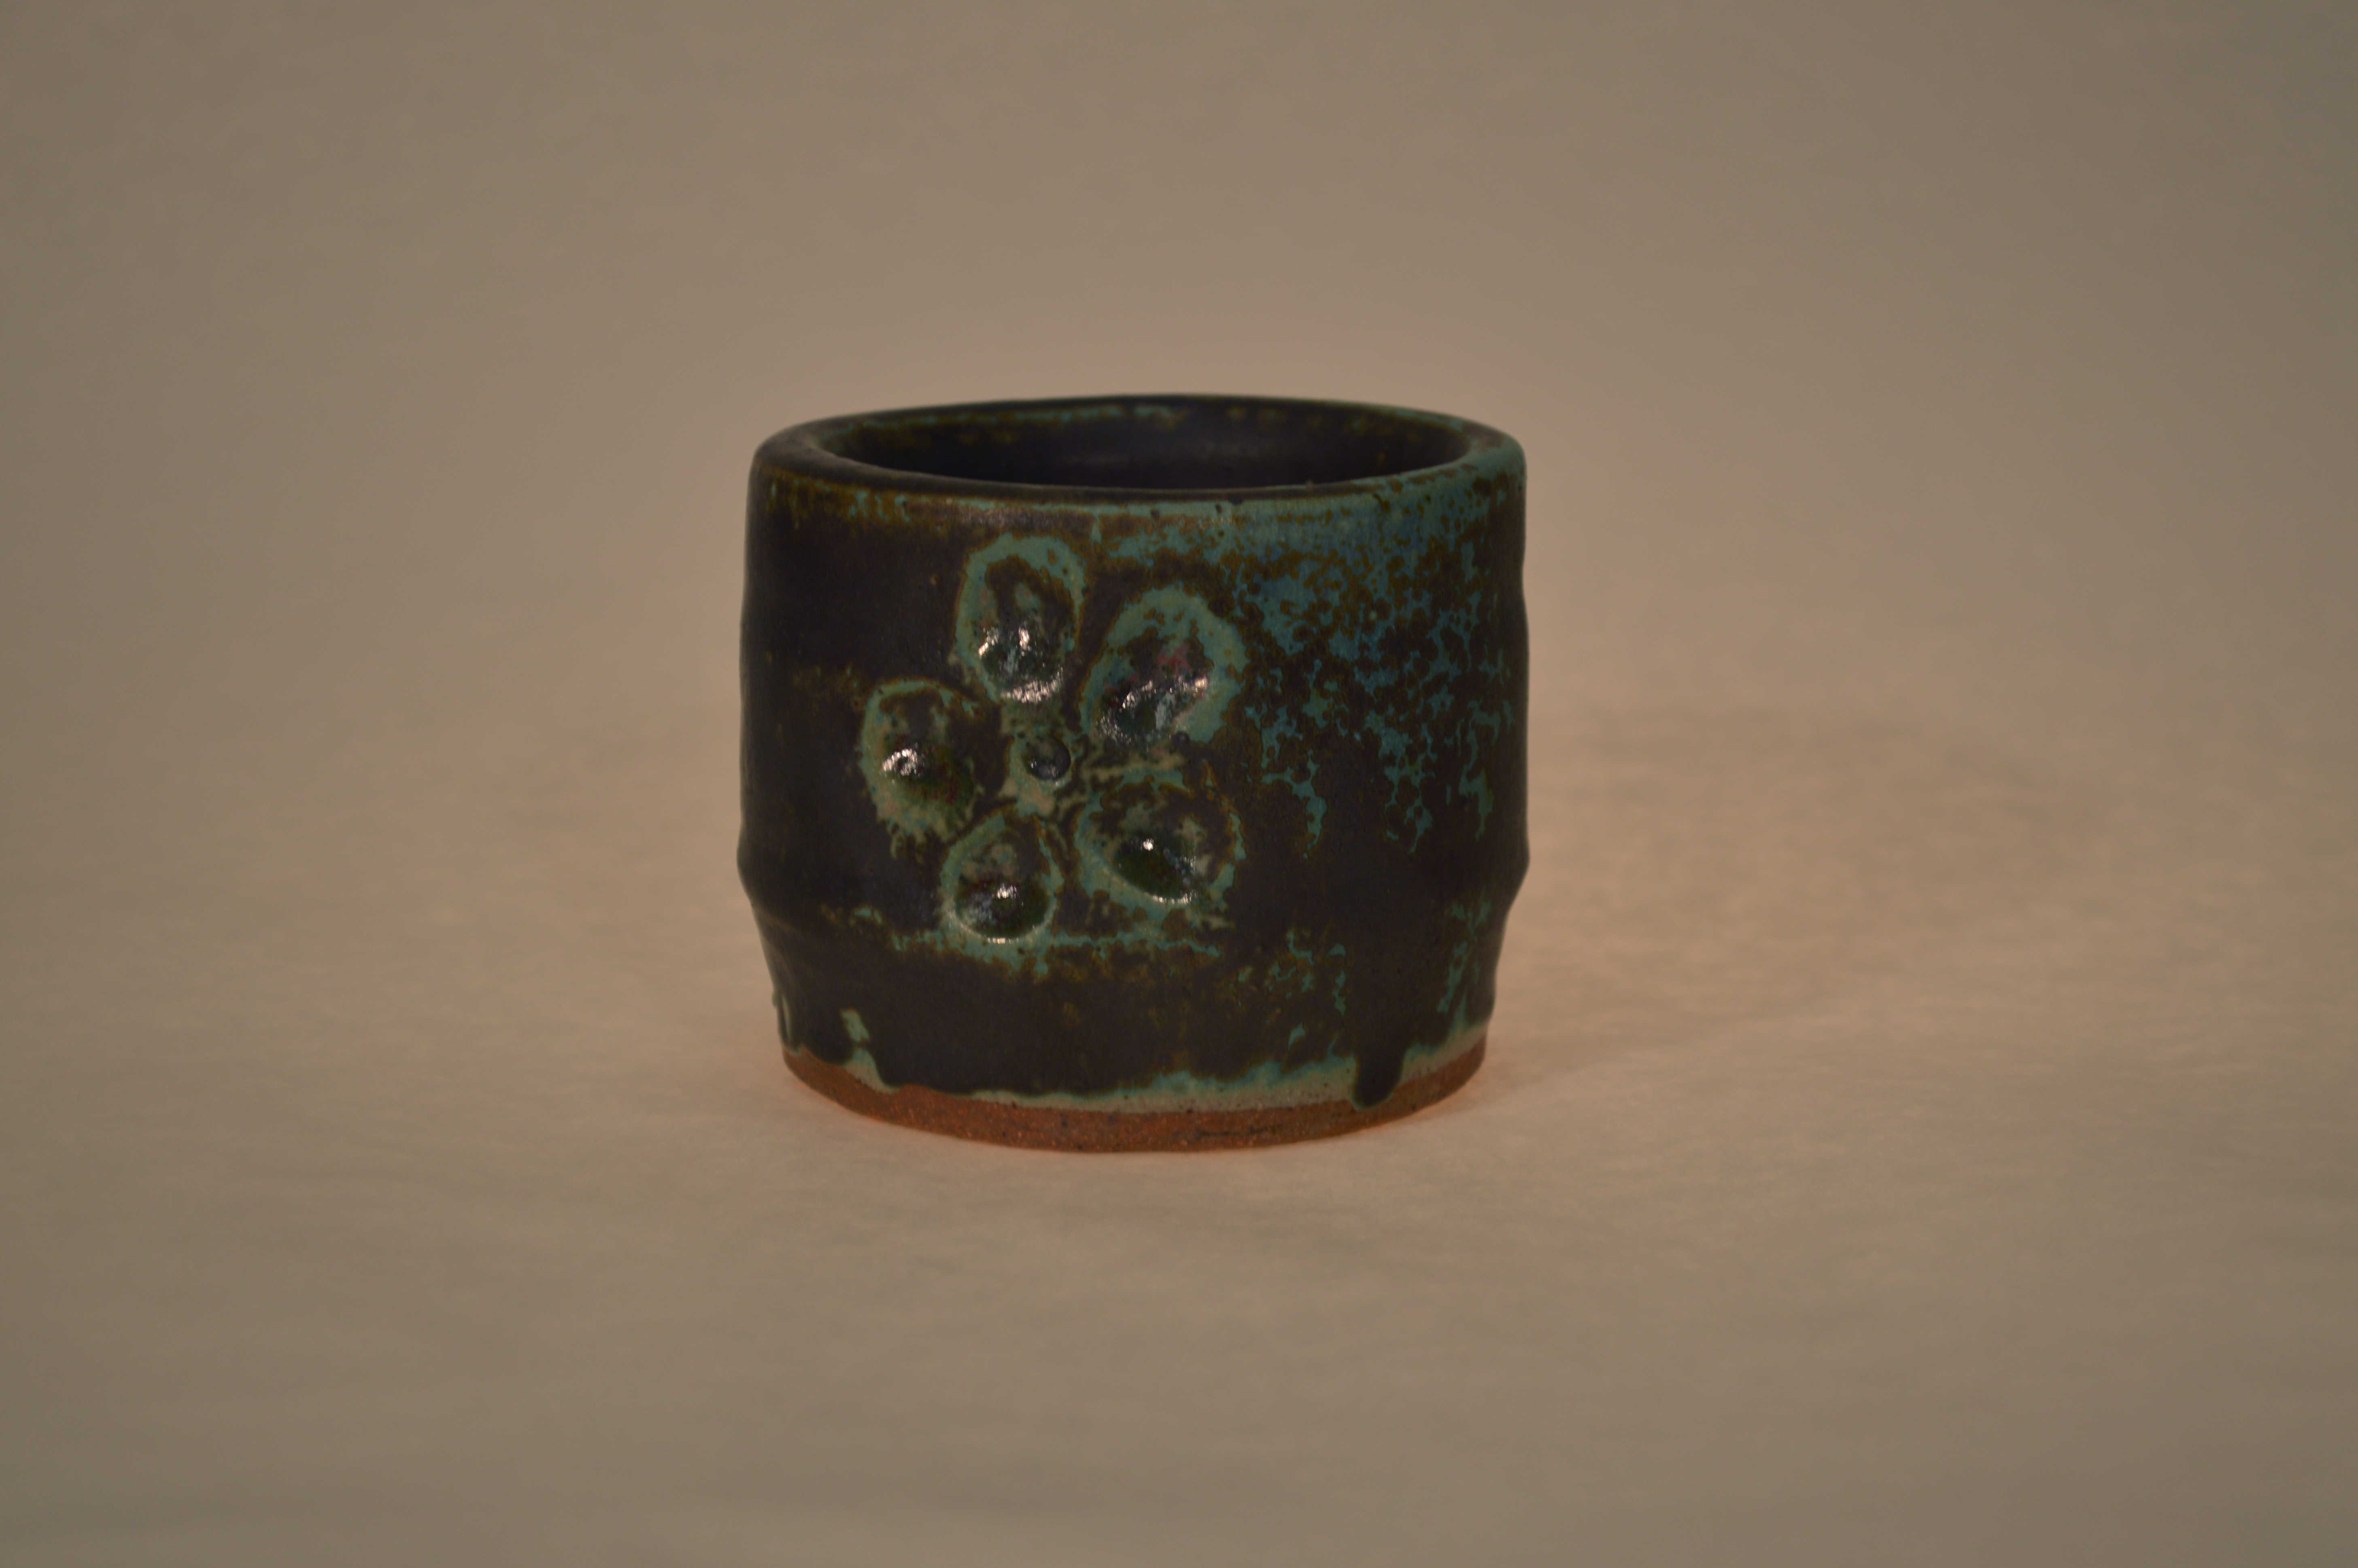
For three dimensional pieces you want to gently stuff any cavity with either news paper or bubble wrap. The you will wrap it in bubble wrap just as with the 2D piece. You want to wrap it enough times that you cannot feel the piece through the bubble wrap. You can do the same test as you did with the 2D piece above to see if you have used enough. Make sure any delicate parts are especially protected, such as edges and corners.

12204999_10153748034973618_436759880_n

Once you have your pieces wrapped individually well enough that you are confident, it is time to assemble the package. Place padding in the bottom of the box first and then place your first piece inside. Fill and empty space around the piece with foam, bubble wrap or paper to make sure that it is not able to move around in the box at all. Put another layer of bubble, paper or foam on top of the piece as well. Then you can either close the box or put a layer of cardboard and create another section for another piece.

On top of your layer of cardboard, you’ll want to treat is as if it is a new box and repeat the process above for a second piece.

12358058_10153748034923618_258048186_n

Once everything is in the box, you’ll want to provide some information for the gallery staff. Provide a sheet that has your name, address and phone number, a list of the box contents, packaging and display instructions and to whom you are addressing it. place this in an envelope along with paid return shipping.

Tape up the box the same way you did for the bottom of the box and mark which side is the top. Now your work should be ready for a safe journey to and from its destination.

Shipping Your Work

Matting Your Work

Matting your artwork is a relatively simple process that can make your work look much more professional and is important if you are wanting to frame your work. Matting serves two purposes: it lets you control some of the context in which your work is seen as it creates somewhat of a visual break from the rest of the world, and it protects your work from glass or plexi-glass resting directly on it while in a frame.

The first step in matting your work is to measure the area of your work that you would like to show through the frame. It is acceptable to either crop your work very slightly or to leave a border around the image. For my example, I chose to leave some space around it as it has edition information below the piece that I would like to have showing. I chose to leave a quarter of an inch outside the piece all the way around with the exception of the bottom where the writing, is which I would leave half an inch showing. The simplest way to figure out your measurements from there is to measure the space you want to leave all the way around and mark it with a sticky note.

12355108_10153748039328618_1975412002_n

From there it is easy to measure from sticky note to sticky note to figure out the overall size of the window you need. Record your measurements.

After you have this information, you need to decide how big you want the mat to be. It is generally a good idea to chose a traditional frame size, as it will make it much easier to find a frame. As long as you make it in full inches, though, metal frames are sold in sections of two of every inch increment length which can give you an easy custom sized frame. I chose to make my piece 10″ x 12″. Once you have made this decision you need two pieces of mat board cut to this size using a mat cutter.

First, measure the mat board and mark where you need to make your cuts with a pencil on the side of the mat board that will face your work and be hidden. Then, stick it under the handle of the mat cutter that holds it in place while you cut, making sure it is flush against the frame on the side so that you get an exact ninety degree angle. Make sure that your pencil line is lined up with the edge of the handle, as that is where your cut will be. Take the blade holder and put it on the track of the handle just beside your work, and then slide it over your work to make the cut. Repeat this process to make all of your cuts.

12355063_10153748039343618_247875873_n 12386721_10153748039363618_1774544239_n

Next, we need to measure where we need to cut the window in the mat. Take one of your pieces of mat board and find the center by taking have of the height and width measurements of the total size and mark it using a t-square. Then take half of your window measurements and measure out from the center point using a t-square for each side. Draw a box using the marks and that is where you will cut.

12366983_10153748039378618_255650298_n

Using an angled mat knife, we’re going to repeat the cutting process. You want to make sure you position the board so that you are cutting so that the tapered area will point inwards, so make sure the angle is pointing towards the outside of the piece. There is a line on the tool that indicates where you should place it on the starting line. Line the mark up with your cutting line and there is a small button you can press to anchor it in place while you press the blade through the board. Once the blade is fully extended, release the button and slide the blade over until the mark on the side reaches the opposite cutting line. Repeat this 2 or 3 times per side so that you are certain it is cut all the way through.

12366768_10153748039398618_1477963237_n

Now you have 3 components to assemble: the front mat with the window cut out, your work and a solid back mat. Put the 3 together and slide your work around in the window until it is exactly where you want it. place something heavy on the work so that it remains in place while you remove the front mat. Take your framers tape and slide a piece sticky side up underneath the piece, and then cover up the sticky side with another piece of tape with the sticky side down. This is called hinge taping and will allow you to remove the work from the mat in the future without having to tear tape off your piece. Next you need to put the front mat back on exactly where you want it and flip it up and place a piece of framers tape running down the joint of the two pieces of mat board to create a hinge that holds the two boards together.

12386721_10153748039423618_1311434762_n 12366792_10153748039433618_1107848193_n 12386494_10153748039438618_406978550_n 12336033_10153748039453618_457679474_n

Now your piece is ready to frame!

Matting Your Work

Shooting and Curating Work

Recently, our class has been learning how to photograph our work. We learned several methods of shooting as well as how to work a digital camera and light meter. We were then tasked with curating a “show” from the images we shot of ours and our classmate’s work.

My show is dealing with organic and natural elements. The ceramics appear very natural with their earthy tones. One of the ceramic pieces has a flower, which connects it to Brianna’s black and white flower piece. The etching and paper cut pieces both fit in because of their organic shapes and subjects. The Earth Guardian ties the whole show together because it has elements of all of the other pieces within it. Earth from the ceramics, leaves from the film piece, and subject matter based off of an animal.

DSC_0368

Brittney Walton, Earth Guardian, Mixed media

DSC_0280

Lauryn Hastert, Untitled, Ceramic

DSC_0305

Lauryn Hastert, Untitled, Ceramic

DSC_0292

Lauryn Hastert, Untitled, Ceramic

DSC_0282

Lauryn Hastert, Untitled, Ceramic

DSC_0340

Brianna Harris, Untitled, Film

DSC_0324

Brittney Walton, Sammy, Cut paper

DSC_0308

Brittney Walton, Jugular, Etching

Shooting and Curating Work